Showing posts with label upcycling. Show all posts

Monday, 12 May 2014

May the catch-up be with you.

SO, yet again it’s been a long time since the last post. Reason for this is simple. Life has got in the way, a wedding, livestock, good weather, DIY, Game of Thrones, work and planting have all contributed to a general amount of laziness when it comes to writing posts for the blog. Due to mounting pressure (Hopwood!! Might get her back by getting her to play Russian roulette with some Correzienne mushrooms in October!!) I’ve finally given over some time to do a bit of a catch up as far as life here at Chez Powell is concerned. I’m afraid it’ll take, yet again, the form of a list and I’ll stick in some photos where I can.

Things we’ve done since Feburary.
Staring with the one that’s taken up most of our time. We’ve planted/sown the vast majority of the garden, including ...flowers. This is unusual as I’m a bit of a plant Nazi. If it doesn’t produce food or directly contribute into the production of food then normally it has no place in my garden. However, some flowers have been planted including some that have no apparent use what so ever other than to look nice. Perhaps I’m going soft in my old age. Less of a plant Nazi and more of a VNP (Vegetable National Party) member. Although I have also planted up some anti insect plants near the door to deter the little buggers from the house. In addition to the “normal” veg there is also some experimental perennial ones in this year. I’ll write a separate one for them if/when they start producing. Lots of experiments in companion planting happening this year as well so I’ll post on that when the pictures look more impressive!
Anti insect plants, geraniums, tansy and rue in pallet planters.
Increased the animal stock. Six ducks, one rabbit litter of six, for new chickens with some eggs currently waiting to hatch in an incubator lent to us by some very nice people who also sold us two new pigs.
This years first rabbit litter.
Some of the new birdies.

Charlotte and Babe

Built more animal housing from pallets

Built a planting bench.....from pallets.
Built more fencing including a little picket style fence for the front of the house (from pallets) as well as pig fencing.

Strengthened up the polytunnel. It took a bit of a battering this winter in the wind so I’ve used, you’ve guessed it, pallets to reinforce some the side supports/hoops.

Acted as vet. Since the arrival of the baby chickens the weather’s been rubbish and they keep getting colds so barely a week goes by without one spending a couple of days in the kitchen under a heat lamp!
A hot chick under a red light!!

This little chap now lives with the guinea pig as he ran away and we couldn't find him for 4 days so he can't go back with mummy.

Lots of work away from the “farm” as well for both of us, which is good as it means we can pay our taxes!!


Yet again I promise to AIM to have less of a time lapse between this and the next post but time simply slips away. Perhaps I’ll fill the time with nice pictures of flowers.

Tuesday, 4 February 2014

Pallets 101

Today we got a garden/porch chair. It didn’t cost us a thing, bar some screws. I made it from pallets. Lots of this going on at the moment and the internet is full of spectacular things made from them. Some big some small but all great. I even found a man who had covered his allotment in them then used plastic bottles to increase his production space with vertical gardening. Whilst there are lots of ideas there isn’t a lot of info on how to get from pallet to creation. I’ve put some of my creations on before and I’ll try not to repeat too many. Rather than set of instructions on how to make something I thought I’d go for general things I consider when thinking about a pallet project.
Today's creation

Rabbit run in progress

       Quality of pallet. Is it even worth picking it up? If it’s smashed to bits, rotten and generally falling apart then my advice, unless you’re planning a bonfire, don’t bother. It will simply sit in your garden/shed rotting further and taking up space.

       Treatment. Some pallets are treated with some unpleasant chemicals to preserve them. Don’t use these indoors or for chairs, play equipment etc. Use them for gates, fences and things people won’t be spending a lot of time on. Look for heat treated ones for “people used” items. You should be able to find a HT on a spacer to tell you if it’s been heat treated.
Seating area. Looking for a fire pit for the center

       To cut or not cut. Can I make what I want without cutting it up? Pallets are generally very strong. Think about their original purpose. If you start butchering it will it loose its integrity? If you go for cut, where will you cut? I generally try to keep the spacers on if I’m going for this.


Dining Table. No cutting required.

Work top. Butchered another pallet to fill in gaps.

  Pull it apart. The trickiest part of adapting a pallet for further use. Sometimes they come apart like a dream, leaving you with 10-15 planks of wood where what you make is limited only by (in my case) skill and imagination. There are several videos on you tube. I go for a combination of masonry chisel, hammer and crow bar to “gently” prise apart rather than the smash the end technique as it leads to more splitting. Sometimes you simply have to give up on a pallet and cut it instead and use smaller pieces joined together.
No right angles allowed mirror.
Window boxes. Ready for summer.
Chicken house.
Number one rule. You need to be adaptable. You probably won’t be able to make the item you’ve found on the net. You won’t have the same size and/or type of pallet.
Bathroom mirror


Pedestal 
 Yours will split when you try to screw them together. The planks will break when you try to pull it apart. Yours will bend and warp. Believe me I’ve had all these problems and more, sometimes resulting in tool throwage! My biggest problem is forgetting the number one rule. But, this is the joy of pallets. Your creation will be unique. No one will have one quite like you. If you want one like everyone else, go to Ikea! Who wants to be the same as everyone else?


What have you made from pallets? Share in the comments below.

Friday, 6 September 2013

The best things in life are free.

It’s been really busy here this summer. Lots of visitors, work and running the smallholding have meant that there’s been no time for blogging. Some new animals thrown into the mix as well adding goats and geese to the zoo! Both are very friendly and as of yet haven't lived up to their naughty reputations. The pigs on the other hand, 5 escape attempts mostly coinciding with either a full moon or  coming into season. However, they always come running when you shake a bucket of food at them! 
Finally got some time to sit down so I thought I wax lyrical about our freecyling efforts thus far. It also highlights the generosity of the people here but also the lunacy of what gets thrown away at the tip. We are aiming to do as much as we can in the house and garden this way. Obviously there are some things we can't really do this with but we try. What follows are some pics of things we’ve got for nothing this summer either from the tip or direct from others which I've labelled as gift. All the pallets are tip recue. I know I've done the pallet table before but hey ho and I might even write a whole one on pallets later.
Book case-Gift

Sideboard-Gift

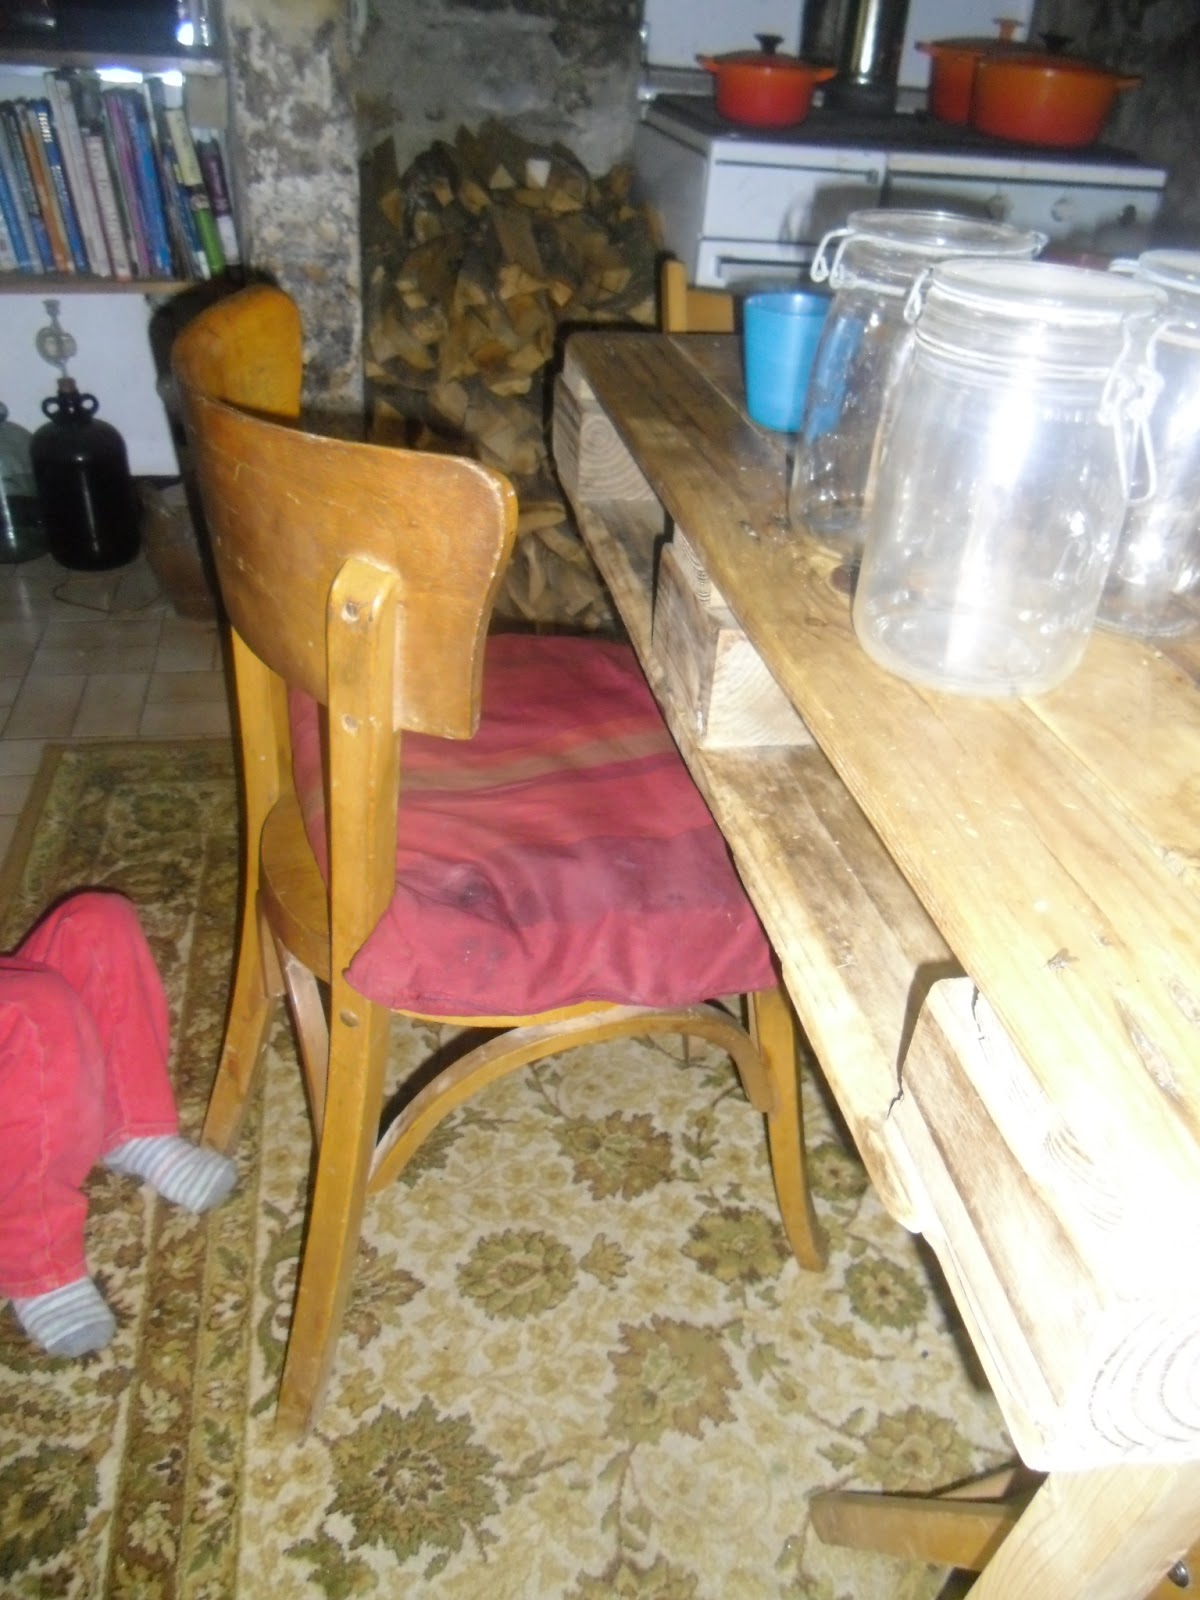
Chair-Gift, Table-Pallet, Rug-Gift

Terracotta pots-Tip rescue

Goose bed-Pallets

Plastic pots-Tip rescue

Firewood-Gift

Climbing frame-Added extra! Child-No idea where he came from!

Water butt.Old sink gift/tip rescue

Goats and fencing-Gift

Toy-Tip rescue, Child-?

Everything in pic-Tip rescue

Rug-Tip rescue!

Throw and cushions-Gift

Table-Tip rescue

Wardrobe-Gift

Lamp shade-Tip rescue

Lampshade 2-Tip rescue

Jars, charcuterie hanger, earthenwear jar, tiles and kilner jars-All rescues/gifts


Hopefully now that autumn is here I'll have more time again to blog more often when I'm not cep hunting or pig processing.

Wednesday, 26 June 2013

Wine box planters and Nasturtiums

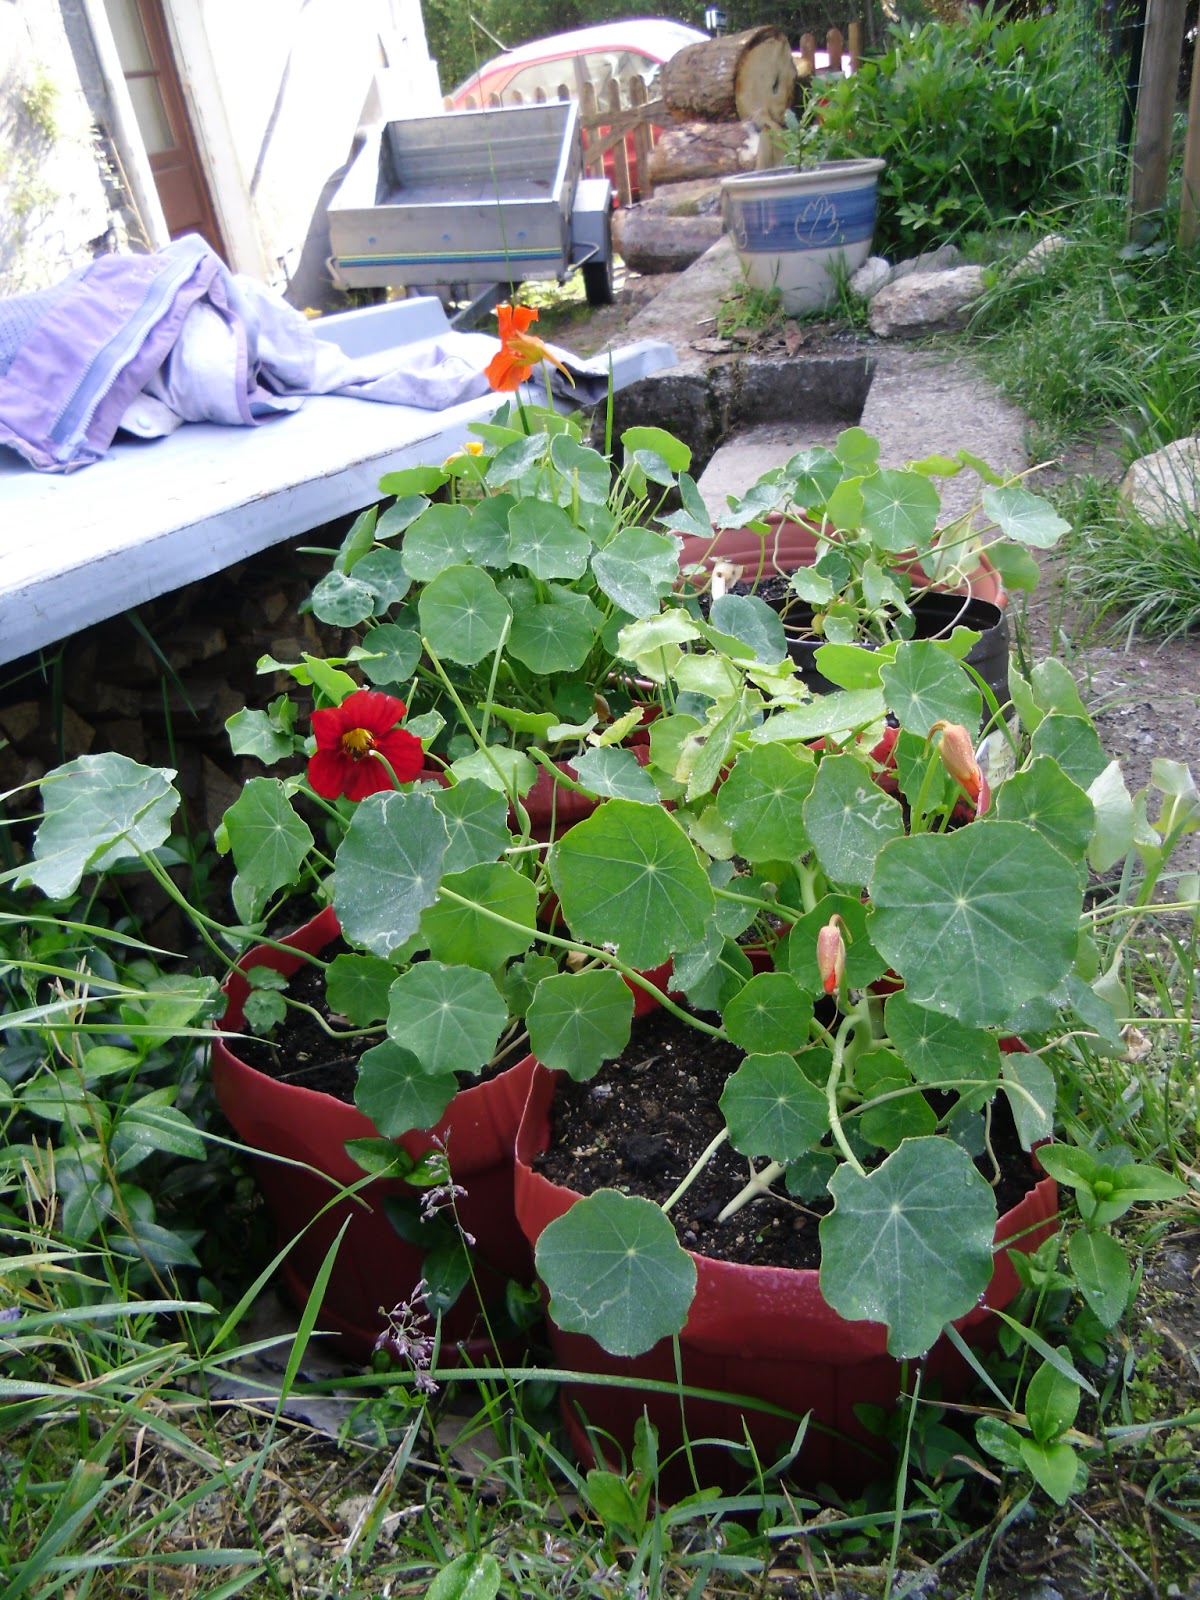
Time to wax lyrical about two of our favourite things. Nasturtiums  and wine! We love nasturtiums. They are a great plant to have on any vegetable patch, windowsill or just generally around the garden. Every bit of them is edible, leaves, flowers and seeds, which make great alternative peppery capers. They are also a fantastic companion plant for pretty much all other veg. They repel a whole load of different pests from brassicas and cucurbits and attract hoverflies who eat aphids. We have them dotted all around our veg and fruit this year and in the last couple of weeks they’ve been popping up out of the soil.

Wine here is great value. You can pick up really quite drinkable wine in large quantities for not a lot of money. It’s not going to win prizes but it beats two for £5 at the evil that is the blue and white supermarket in Britain. However, the large plastic barrels they come in won’t fit in the recycling bins. Not sure if this is an original idea but here’s how we turned the boxes into planters for nasturtiums.

First the fun bit. Empty the wine boxes. 


Doing this in one go is optional!


Then, cut of the top. I used a Stanley knife so you may want to get a grown up to help you. 


No need to be too neat it all adds to the effect (That’s my excuse anyway and I’m sticking to it and anyway slugs and snails hate sharp edges so it’s also protection!)


Rinse them out and drill holes in the bottom. If you needed a grown up for the last step, you will also need one here!


Fill with soil/compost. Sow your seeds.


Sit back and let them grow. Then enjoy, the colours, better veg and more interesting salads. But, please remember what the great philosopher Homer (Simpson) once said. “You don’t make friends with salad”.

Getting there.

Please note the result of a broken strimmer around the planters! 

The "art" shot!


Wednesday, 19 June 2013

Wine bottle herb spiral

 The idea for a herb spiral is quite simple. Creating a raised circular area for your herbs artificially adds different habitats to your growing area.The raised shape allows the water to drain well creating the different dampness areas in the spiral and the position of everything relative to the sun and each other creates different shade conditions. Low down on the north side is wet and shaded high up on the south side dry and sunny. The idea for using wine bottles to create the shape came from two places. The nice lady up the road who uses them to line her paths and the brilliant book by Dick and James Strawbridge  Practical Self Sufficiency.
Add caption


 Arrange bottles in the shape you want.


Place cardboard down as a biodegradable mulch to suppress weed growth.
 Fill shape with soil/compost We dug ours out from the pig enclosure. Ready manured!! If you have money, you could always buy it from the shops, of which there are many!
South side-Rosemary, Sage, Chamomile,Thyme

North-Tarragon, Wild Garlic, sorrel
 In there there is also some lemon balm, peppermint, flat and curly parsley and chives all in the "middle" areas


A month and a half on. Everything is coming along. The wild garlic has died back so we're waiting till next year to see if they're up to the winter temperatures. We've added pot marigolds, garlic and coriander (Which is still quite small so you can't see it here) Yet again parsley is not performing for us. It was the same in England. Parsley seems to be a bit of a blind spot in the Powell veg arsenal. Ideas on a postcard!!