Showing posts with label recycling. Show all posts

Monday, 4 November 2013

Bread. Bread. Bread. And one mention of beer!

Although we went off track a little this summer, we make all (well, nearly all, this is France after all and the boulangerie is only 5min down the road!) our own bread. This autumn sees the return of a favourite of ours, sourdough. This can be the ultimate in thrifty bakery as you only need to buy flour because the yeast comes from the air around you. This also means that everyone’s is slightly different as the mix of microbes in the air varies a great deal place to place, year to year, season to season, even room to room. The principle is exactly the same as shop bought yeast. They use the sugars in the ingredients (flour, sugar, honey etc depending on your recipe) as food and produce carbon dioxide as a waste product which, if you have gluten and have kneaded your dough properly, makes your bread rise. Being wild, the yeast in a sourdough isn’t as controlled as shop bought and produces a whole load of other chemicals as well. Mostly weak acids which account for the sour taste of the bread. Incidentally this is also how Belgian brewers make lambic beers. In Brussels, the Cantillon brewery simply open the windows to start the fermentation of their beer. The resulting beer is amazing, especially after they then age it in barrels with fruit.
So how do you make it? It’s very simple. We use the instructions laid out in the River Cottage Bread book (As with all River Cottage stuff I can’t recommend it enough). Get yourself something to keep it in. We got an earthenware jar from the local charity shop.
 Mix 150g flour (wholemeal is best as it contains more food for your new pets) with 250ml warm water, beat it and leave until it bubbles and starts to smell. This will take about a week, depending on conditions. After this put the same flour/water mix in again. This is now a daily/every other day task. Take half your mix and put in your bread recipe instead of yeast. Feed it again with the flour/water mix. Done!

Your bread will take longer to rise but this actually makes it easier to fit in to your daily routine as you can leave it nearly all day to do its thing. A simple method is to knock up a “sponge” the night before. Half your recipes flour, all the liquid and one or two ladles of your sourdough mix. In the morning before work/school etc add the rest of your flour the salt and the extras (fruit, nuts, fat seeds etc) Knead. Leave to rise. Knock back and rise again as many times as you have time for. (At work all day? Leave it somewhere slightly cooler and leave to rise until you get back.) Prove. Bake. Cool. Eat.
Your starter can be added to any recipe containing flour and liquid. We’ve put in pancake batter, scones, cake. Next time we have Yorkshire pudding/toad in the hole it’s going in that too. It’s better if you can leave it for a bit for the yeasts to ferment a bit. We make our pancake batter the night before for example. But if you don’t have time to do this it will still add to the flavour and make your chosen cake/scone/crumble taste better.

You can give a starter to a friend as a present. A couple of ladles of yours in a nice jar with some instructions would make a different pressie for someone.


Saturday, 21 September 2013

A Bountiful Week

This week has been a fruitful one here at Chez Powell. First up the veg patch which has seen a sudden boom in productivity. The weather here has not been good for the last fortnight. An awful lot of rain and not a lot else. However in the last two days the sun has come out and everything outside has gone nuts. As you can see below swedes and fennel have swollen up nicely and we hav a mountain of pumpkins and marrows to  ripen off.


In the polytunnel things have not fared as well. On Monday everything was looking good lots of red toms everywhere and twice as much again green. Unfortunately looked in on Wednesday and almost the whole crop was covered in blight and mildew. This prompted an emergency harvest and the first part of this week will have to spent chutney making. Fortunately I think we have enough marrow to do so!

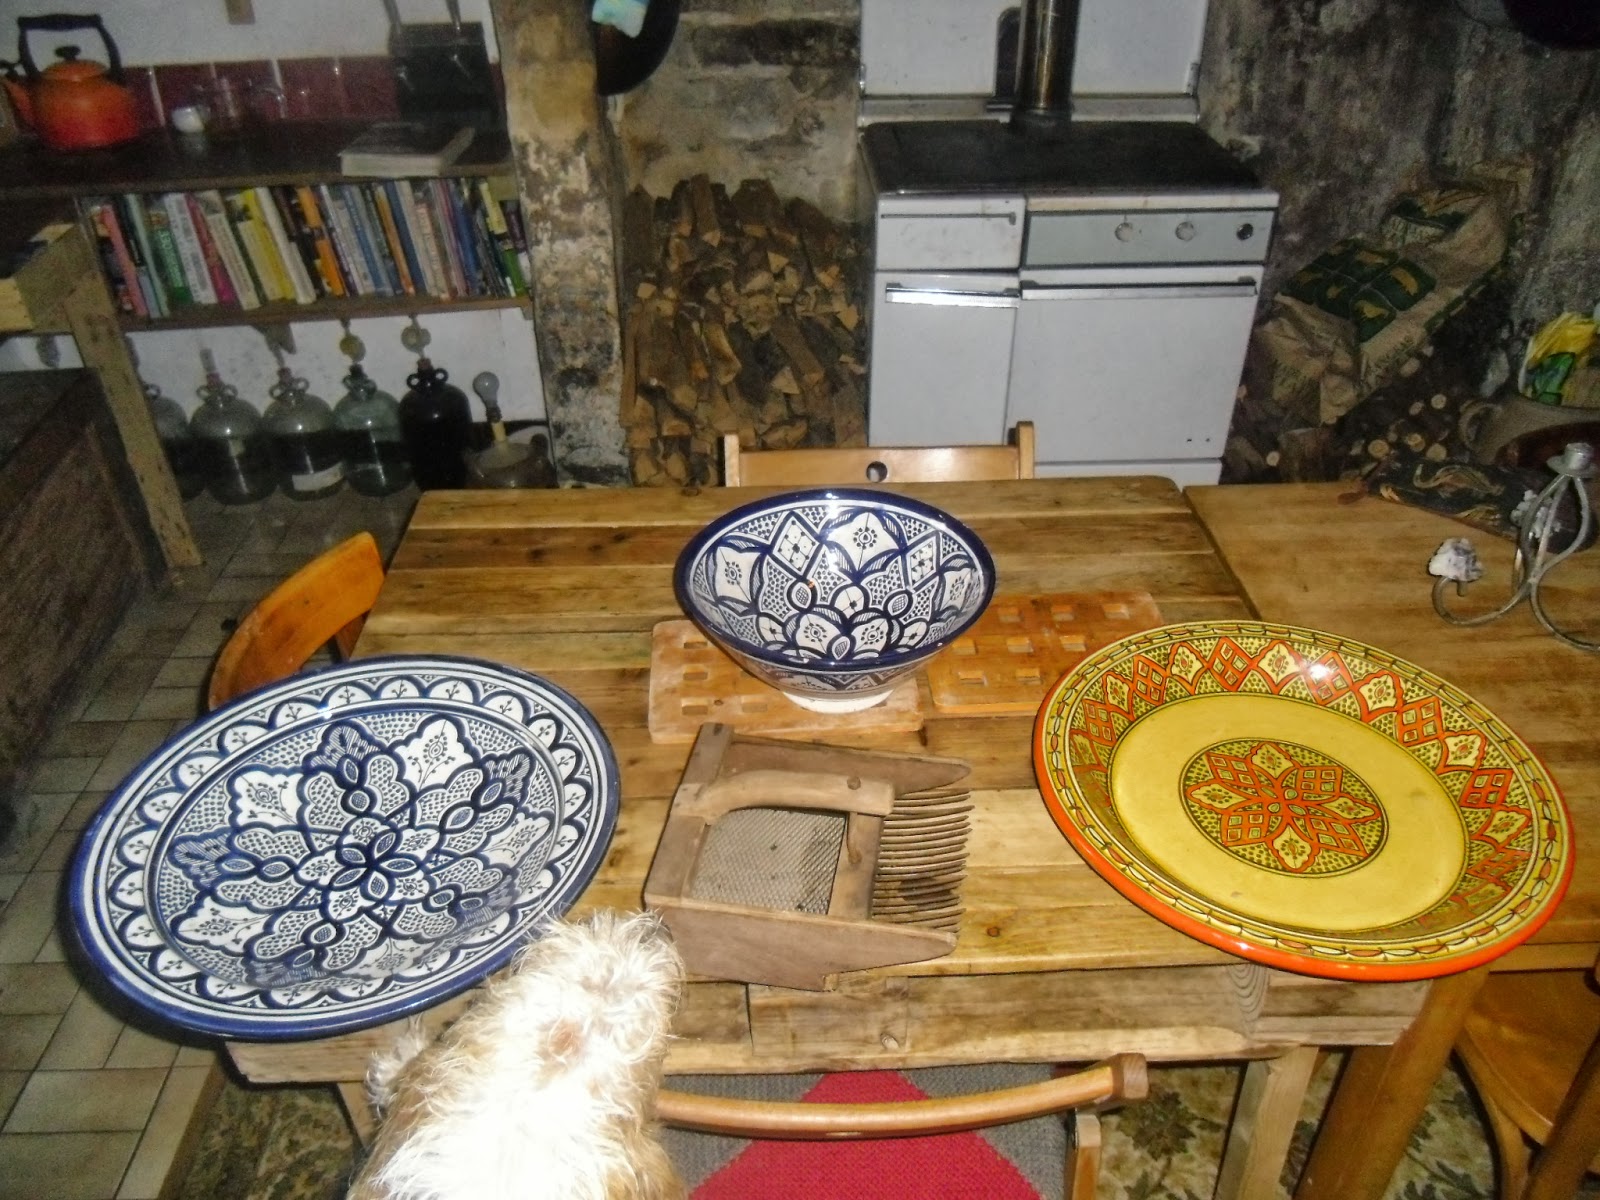
Also, further to my earlier blog, this week has been a great week at the tip. I've picked up three pairs of shoes that need a bit of a clean and some dubbing, some big plates, a bowl and a berry picker.


Friday, 6 September 2013

The best things in life are free.

It’s been really busy here this summer. Lots of visitors, work and running the smallholding have meant that there’s been no time for blogging. Some new animals thrown into the mix as well adding goats and geese to the zoo! Both are very friendly and as of yet haven't lived up to their naughty reputations. The pigs on the other hand, 5 escape attempts mostly coinciding with either a full moon or  coming into season. However, they always come running when you shake a bucket of food at them! 
Finally got some time to sit down so I thought I wax lyrical about our freecyling efforts thus far. It also highlights the generosity of the people here but also the lunacy of what gets thrown away at the tip. We are aiming to do as much as we can in the house and garden this way. Obviously there are some things we can't really do this with but we try. What follows are some pics of things we’ve got for nothing this summer either from the tip or direct from others which I've labelled as gift. All the pallets are tip recue. I know I've done the pallet table before but hey ho and I might even write a whole one on pallets later.
Book case-Gift

Sideboard-Gift

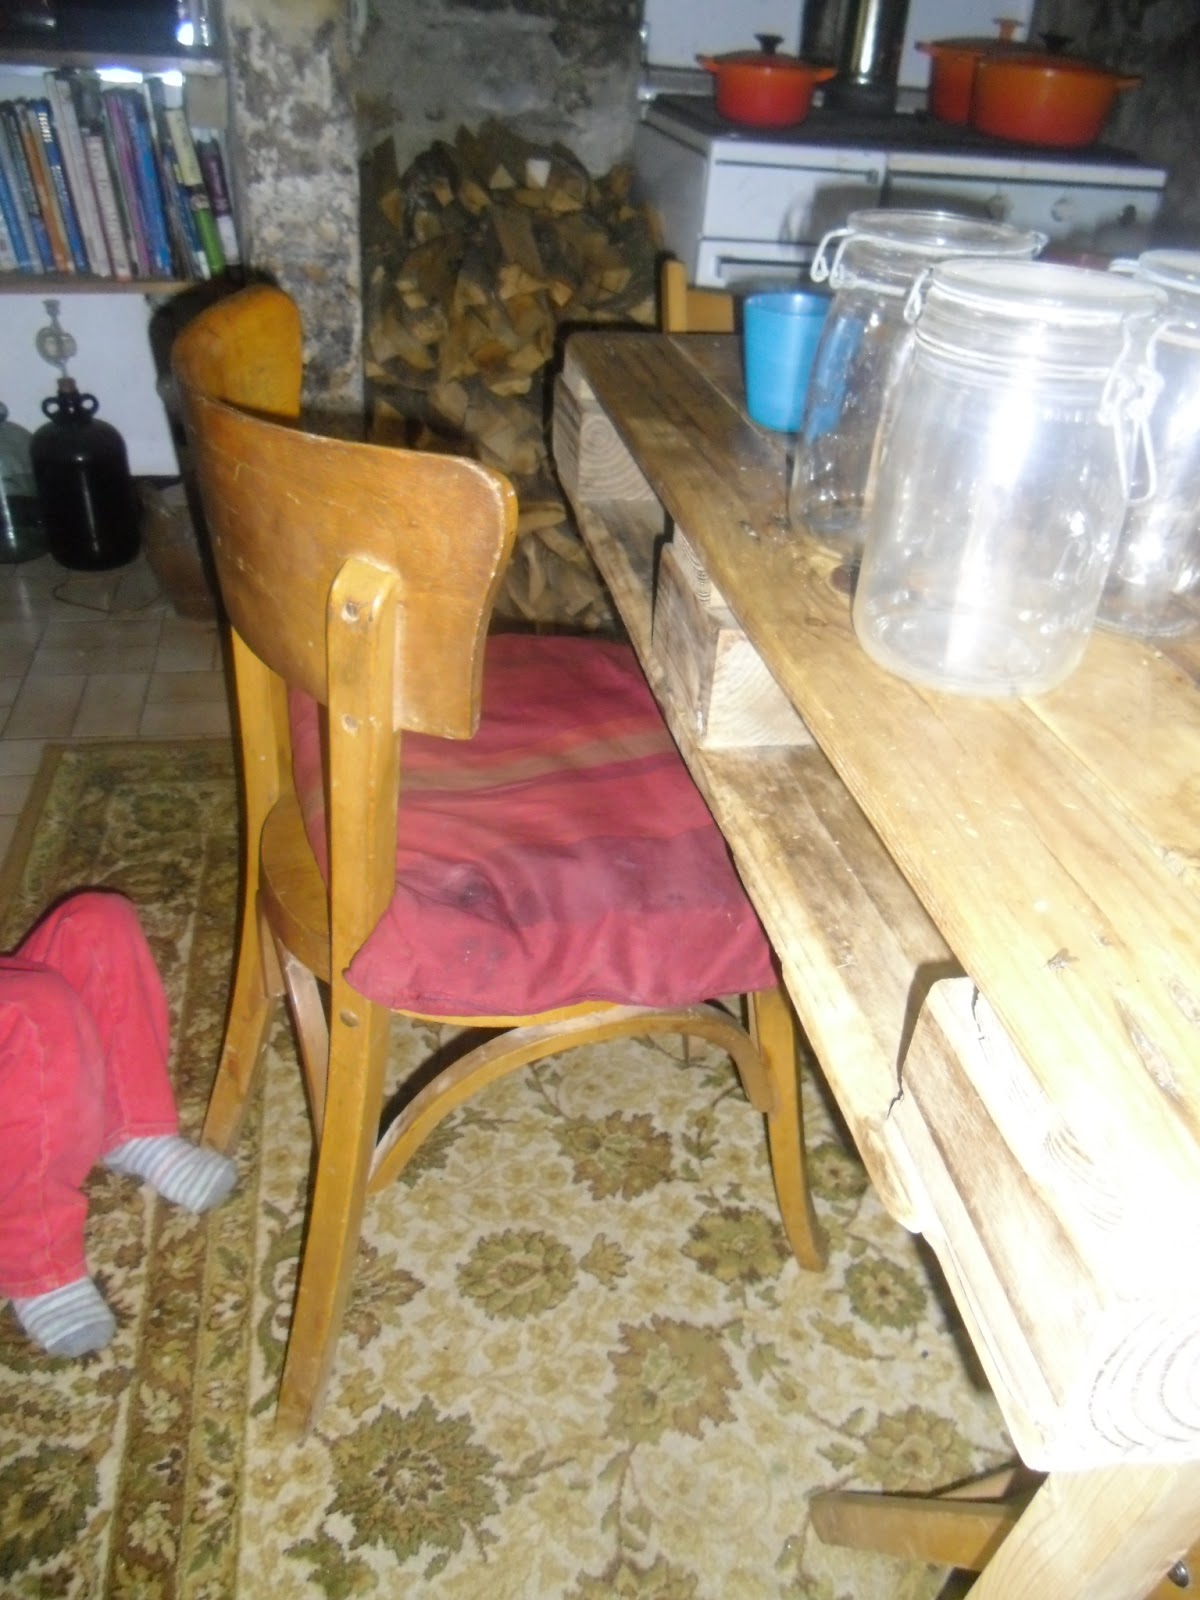
Chair-Gift, Table-Pallet, Rug-Gift

Terracotta pots-Tip rescue

Goose bed-Pallets

Plastic pots-Tip rescue

Firewood-Gift

Climbing frame-Added extra! Child-No idea where he came from!

Water butt.Old sink gift/tip rescue

Goats and fencing-Gift

Toy-Tip rescue, Child-?

Everything in pic-Tip rescue

Rug-Tip rescue!

Throw and cushions-Gift

Table-Tip rescue

Wardrobe-Gift

Lamp shade-Tip rescue

Lampshade 2-Tip rescue

Jars, charcuterie hanger, earthenwear jar, tiles and kilner jars-All rescues/gifts


Hopefully now that autumn is here I'll have more time again to blog more often when I'm not cep hunting or pig processing.

Wednesday, 26 June 2013

Wine box planters and Nasturtiums

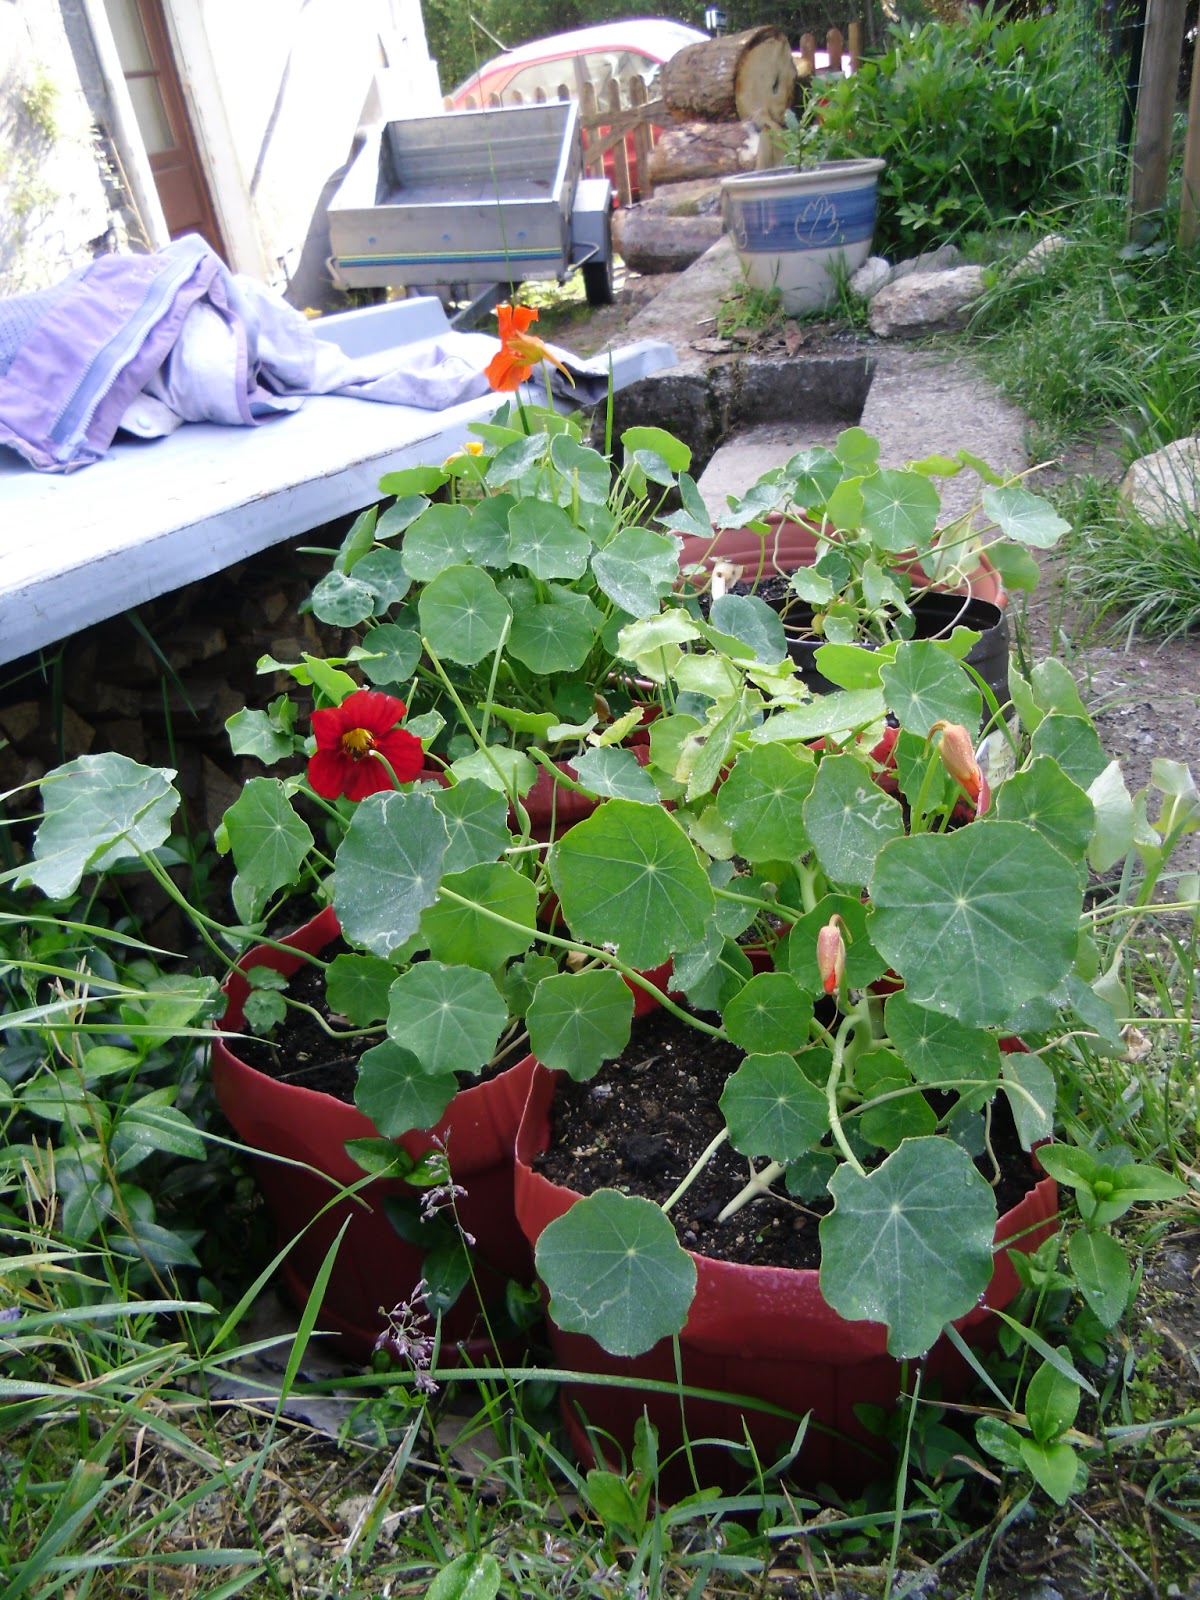
Time to wax lyrical about two of our favourite things. Nasturtiums  and wine! We love nasturtiums. They are a great plant to have on any vegetable patch, windowsill or just generally around the garden. Every bit of them is edible, leaves, flowers and seeds, which make great alternative peppery capers. They are also a fantastic companion plant for pretty much all other veg. They repel a whole load of different pests from brassicas and cucurbits and attract hoverflies who eat aphids. We have them dotted all around our veg and fruit this year and in the last couple of weeks they’ve been popping up out of the soil.

Wine here is great value. You can pick up really quite drinkable wine in large quantities for not a lot of money. It’s not going to win prizes but it beats two for £5 at the evil that is the blue and white supermarket in Britain. However, the large plastic barrels they come in won’t fit in the recycling bins. Not sure if this is an original idea but here’s how we turned the boxes into planters for nasturtiums.

First the fun bit. Empty the wine boxes. 


Doing this in one go is optional!


Then, cut of the top. I used a Stanley knife so you may want to get a grown up to help you. 


No need to be too neat it all adds to the effect (That’s my excuse anyway and I’m sticking to it and anyway slugs and snails hate sharp edges so it’s also protection!)


Rinse them out and drill holes in the bottom. If you needed a grown up for the last step, you will also need one here!


Fill with soil/compost. Sow your seeds.


Sit back and let them grow. Then enjoy, the colours, better veg and more interesting salads. But, please remember what the great philosopher Homer (Simpson) once said. “You don’t make friends with salad”.

Getting there.

Please note the result of a broken strimmer around the planters! 

The "art" shot!


Wednesday, 19 June 2013

Wine bottle herb spiral

 The idea for a herb spiral is quite simple. Creating a raised circular area for your herbs artificially adds different habitats to your growing area.The raised shape allows the water to drain well creating the different dampness areas in the spiral and the position of everything relative to the sun and each other creates different shade conditions. Low down on the north side is wet and shaded high up on the south side dry and sunny. The idea for using wine bottles to create the shape came from two places. The nice lady up the road who uses them to line her paths and the brilliant book by Dick and James Strawbridge  Practical Self Sufficiency.
Add caption


 Arrange bottles in the shape you want.


Place cardboard down as a biodegradable mulch to suppress weed growth.
 Fill shape with soil/compost We dug ours out from the pig enclosure. Ready manured!! If you have money, you could always buy it from the shops, of which there are many!
South side-Rosemary, Sage, Chamomile,Thyme

North-Tarragon, Wild Garlic, sorrel
 In there there is also some lemon balm, peppermint, flat and curly parsley and chives all in the "middle" areas


A month and a half on. Everything is coming along. The wild garlic has died back so we're waiting till next year to see if they're up to the winter temperatures. We've added pot marigolds, garlic and coriander (Which is still quite small so you can't see it here) Yet again parsley is not performing for us. It was the same in England. Parsley seems to be a bit of a blind spot in the Powell veg arsenal. Ideas on a postcard!!